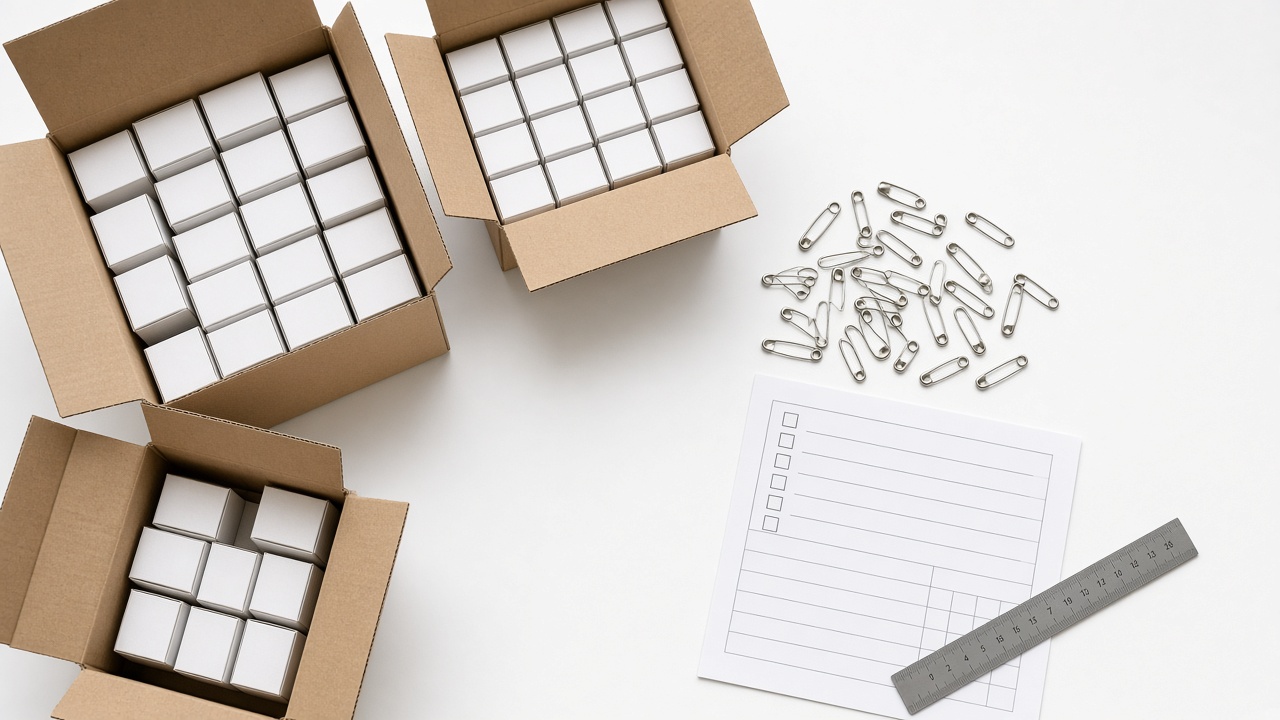
A bulk order of safety pins is not finished when the cartons reach your warehouse. It is finished when you know what is inside them, that the goods match what you agreed to buy, and that they will still be in good condition when your customers open the pack. Problems that are missed here tend to show up weeks later as returns or unsellable stock.
This guide is for importers, distributors and private-label buyers who receive safety pins in volume. It covers what to check when a shipment arrives, how to inspect a lot without opening every box, how to record problems so a claim is taken seriously, and how to store stock so it stays in good shape.
Why Inspect on Arrival
A pre-shipment check by the supplier or a third party is useful, but it does not replace your own check at the receiving end. Goods are handled, stacked, loaded, unloaded and sometimes held in humid ports or containers before they reach you. Your arrival inspection answers three simple questions:
Did we receive what we ordered, in the quantity and packing we ordered?
Did the goods travel without damage?
Does the product match the approved sample or written specification?
Doing this promptly matters. Time limits for raising a claim with a supplier, a freight forwarder or an insurer are set by your contract and shipping terms, so check those terms before the goods arrive and not after a problem appears.
Before the Shipment Arrives
Good inspection starts with having something to inspect against. Gather these items first:
The purchase order or confirmed quotation, showing product description, material, finish, packing type and quantity.
The approved sample, kept sealed and labelled, or a written specification signed off by both sides.
The packing list and commercial invoice, so you can compare the stated contents with what you count.
Your own inspection form, with the checks you plan to make and a place to record results.
A clean, well-lit table, a ruler or calipers, and a camera or phone for photographs.
For repeat orders, keep one retained sample from each lot. If a complaint comes in months later, it gives you something to compare.
Step 1: Check the Outside of the Shipment
Start before you open anything. Look at the cartons or pallets as they come off the vehicle and note anything unusual.
Crushed, torn or re-taped cartons.
Water stains, damp patches or a musty smell, which can point to moisture during transit.
Missing or damaged shipping marks, carton numbers or labels.
A carton count that does not match the packing list.
Take photographs of the cartons before moving them, and note any damage on the delivery receipt before you sign it.
Step 2: Reconcile Quantity and Packing
Count cartons first, then check inner packing. Compare the number of cartons, the number of inner boxes per carton and the stated pieces per box against the packing list. If you ordered in gross, dozens or boxes, confirm both sides were using the same unit, because mismatched units are a common source of disputes.
You do not need to count every pin to check quantity. A practical approach is to count a few boxes from different cartons and compare the result with the stated pieces per box. If they differ, widen the check before drawing conclusions.
Check the printed information too. Look at product names, box labels, barcodes if used, and any private-label artwork. Printing errors on retail or branded packs are easy to miss on a quick glance and costly once the goods are on a shelf.
Step 3: Pull a Representative Sample
Opening every box is not realistic. Instead, pull boxes from different cartons and from different positions in the shipment, such as the top, middle and bottom of a pallet.
Buyers often use a formal sampling plan for this, which sets how many units to inspect and how many defects are acceptable. If you want to use one, agree on the method and the acceptance limits with your supplier in writing before the order is placed, so both sides judge the lot by the same rule.
Step 4: Inspect the Pins Themselves
Spread the pins from each sampled box on a clean surface and check them in good light. Compare them with your approved sample, side by side. Useful checks include:
Finish and colour: even appearance, no patches, no visible rust spots, no unexpected discolouration.
Point and tip: points should look aligned and closed in the catch, with no bent or damaged tips.
Coil and spring action: the pin should open and close smoothly and return to its closed position without feeling loose or stiff.
Closure: the head should hold the point securely, and the pin should not spring open on its own.
Burrs and rough edges: run a piece of fabric along the wire to see whether anything snags.
Dimensions: measure a handful of pins against the agreed specification using calipers or a ruler.
If the pins are for fabric, a simple trial helps: pin a piece of the fabric you actually use and check for snagging or marks. Handle open pins carefully.
Material and Finish Notes
Different materials behave differently in storage. Plain steel can corrode if it gets damp, a coating or plating can wear or mark, and brass is a copper and zinc alloy that tends to darken over time instead of rusting in the same way. Stainless steel generally resists corrosion better than plain steel, but its performance still depends on the specific grade and finish. Ask your supplier to state the material and finish in writing, and judge what you receive against that description rather than against assumptions.
Step 5: Record Everything
Use the same inspection form each time. A short record is enough, as long as it is consistent and dated. Include:
Dates of arrival and inspection, order and invoice numbers, and any lot marks.
Carton and box counts against the packing list.
Which cartons and boxes you sampled, what you found and how many units had each issue.
Photographs with the carton number visible in the frame.
Your decision: accept, accept with notes, hold or reject.
A clear photograph of a defect next to the approved sample is often the strongest evidence you can send to a supplier. A note like "some pins look wrong" is hard to act on; "boxes from cartons 4 and 9 contained pins with bent tips, see photos" can be investigated.
What to Do If You Find a Problem
Separate the affected goods from the rest, label them, and do not mix them back into stock. Then:
Check your contract and shipping terms for the claim process and deadlines.
Send your inspection record, photos and the relevant order and packing documents to the supplier promptly.
Describe the issue in factual terms and state clearly what outcome you are asking for, such as replacement, credit or a re-inspection.
If transit damage is involved, tell your freight forwarder and insurer according to their own procedures.
Keep the affected goods and your retained sample until the matter is settled.
How to Store Safety Pins After Inspection
Once stock is accepted, storage decides how it looks months later. A few simple habits help:
Keep cartons off the floor, on pallets or shelves, away from outside walls and water pipes.
Choose a dry, ventilated area, and avoid places with large swings in temperature or visible condensation.
Keep products away from chemicals and anything that gives off moisture.
Reseal opened cartons and boxes after sampling, and mark them as opened.
Rotate stock so that older lots are used first, and keep lot marks visible.
Check a few boxes from long-held stock from time to time.
Frequently Asked Questions
How many boxes should I inspect from a bulk shipment?
There is no single right number. It depends on the size of the lot, the risk to your business and any sampling plan you have agreed with the supplier. As a practical minimum, inspect boxes taken from several different cartons and from different positions in the shipment, and widen the check if you find any inconsistency.
What is the best way to document a defect?
Take clear photographs that show the defective pin, the box or carton label and, where possible, the approved sample beside it. Record the quantity affected and the date. Specific, dated evidence helps a supplier investigate the cause.
How do I keep safety pins from rusting in storage?
Keep them in a dry, ventilated place, off the floor and away from moisture and chemicals. Reseal opened boxes, avoid sudden temperature changes, and check long-held stock from time to time. How well a pin resists corrosion also depends on its material and finish, so confirm those with your supplier.
Request a Sample or Quote
If you are planning a bulk purchase of steel or brass safety pins, or a private-label or OEM order, you are welcome to get in touch. Tell us the material, finish, packing style and destination you have in mind, and ask for a sample or a quotation. Sharing your inspection requirements at the start makes it easier for both sides to agree on what a good delivery looks like.